This article will contain instructions on upgrading an existing jsConnect version 2 installation to version 3.
Why You Need To Upgrade
The jsConnect v2 library uses a protocol called JSONP to authenticate the user to your site. JSONP requires certain cookie permissions that browsers are starting to disable by default with the introduction of the same site cookie restrictions.
Because of this, we changed the way jsConnect works with v3 to use a redirect flow that is very similar to a two legged OAuth or SAML authentication flow. This flow uses fairly standard cookie policies and is compatible with all browsers.
For this reason, we strongly recommend that you upgrade your jsConnect SSO to version 3 as soon as possible.
Note: We strongly recommend that you change the secret on your connection when upgrading. It is a best practice to change your secret from time to time, so this is a good opportunity to do so.
Upgrade Process
Upgrading jsConnect is a three step process.
- Upgrade your jsConnect client library on your site to a version that supports the jsConnect version 3 protocol.
- Configure jsConnect in Vanilla to use the v3 protocol.
- Test your connection.
Upgrading Your jsConnect Client Library
In order to upgrade your client library you are going to need to locate the authentication page within your application. Because this page is on your site you will need to do some research to figure out where it is and where the source code is.
Generally, you will need to replace your old client library with a new one, but you may have to do a bit of programming depending on which language your client library is in.
There are instructions with each client library on Vanilla. You should go do the repository of your client library and look through the README for specific instructions of what to do.
If your site is programmed in a different language than listed above, we have an implementation guide that you can use as a reference to implement the new protocol.
Configure jsConnect In Vanilla
Configuring jsConnect is fairly straightforward. To do so you will need to go into your dashboard's jsConnect settings and configure your connection to use the version 3 protocol.

The above screenshot shows my jsConnect settings. You can see that there is now a warning message and an alert icon by the connection that tells you there is something that need to be fixed. Edit the connection to address the issues.
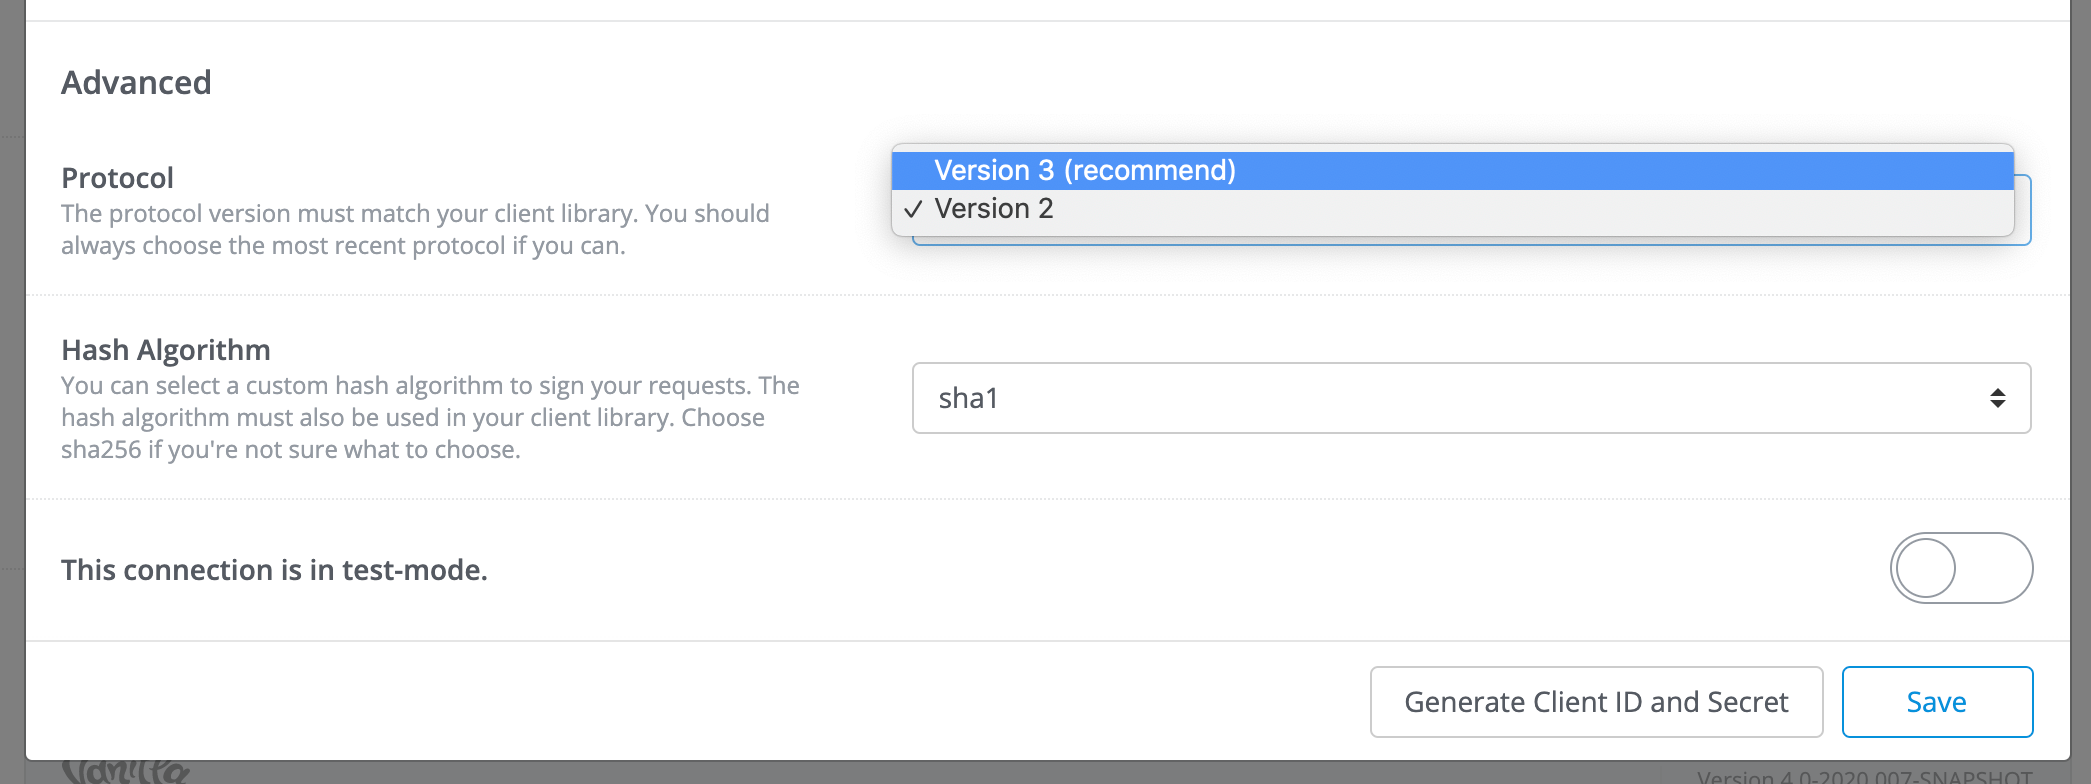
If you scroll down to the near the bottom of the edit popup you will see a dropdown to select the version 3 protocol. Select the new protocol, click save, and your connection should be ready to go.
Test Your Connection
Once you've updated your client library and configured your connection, you should test it. To do so you need to click the Test URL link by the connection. This performs the authentication to your site and gives you some information useful in debugging the test.

The above screenshot shows a successful test, but with a user that isn't signed in to your site. There is a link provided you can click to complete the sign in process.

After signing in, you get more information on the connection. You should look over the use fields to see if there are any problems. Generally, if you see all of your information under Known User Fields then you should be okay because Vanilla knows how to map those fields. Any unknown fields may not be applied to users signing in unless you have a specific customization that can handle them.